DIY AllSky Camera
Print parts, do NOT use PLA, it will melt. I use PETG. No supports needed, I used 20% infill.
|
|
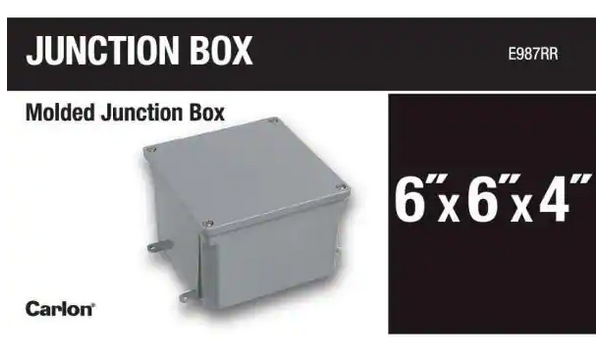
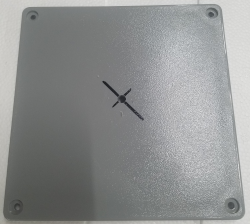
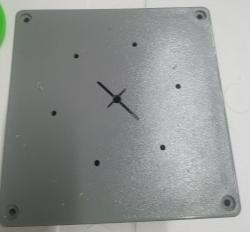
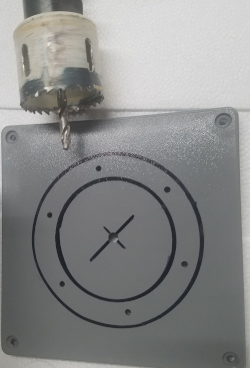
| Drill 1/4 inch hole in center of top cover of electrical box. (Any similar electrical box will do) |
|
|
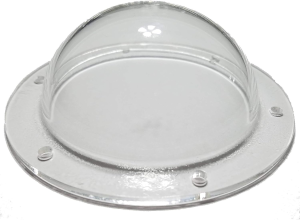
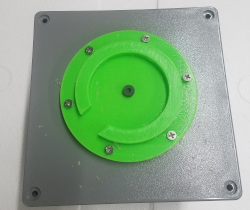
Use base plate as a template for drilling dome mounting holes.
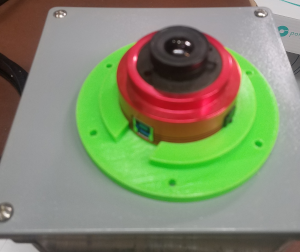
The gap in the rim is where the USB exits the camera. I purposly aimed it so the cable would go to the corner and have the most room to bend down, but you can position it any way you want. |
|
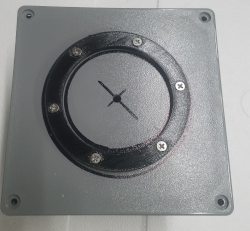
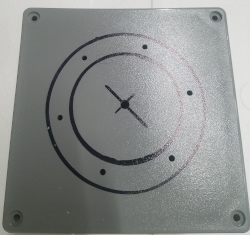
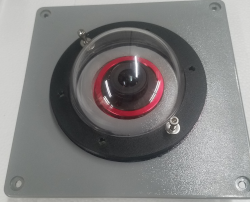
| Use the nut plate as a template to draw where the RTV silicon needs to go. |
|
| Enlarge center hole to 2 inches for ZWO camera to seat flush. This is best done with a hole saw drill. |
|
|
|
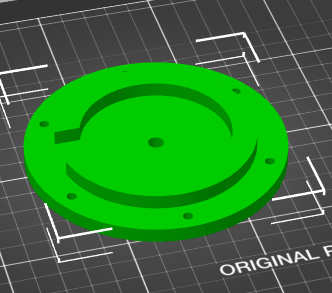
Base Plate |
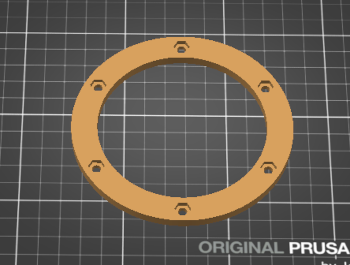
Nut Plate |
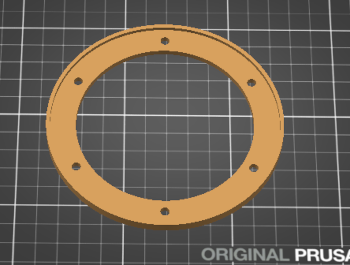
Dome Bezel |